
Your guest list is confirmed. The venue is booked. The caterer has the headcount.
Now comes the seating chart.
A good one makes the reception feel effortless—conversations happen naturally, family dynamics stay manageable, everyone finds their place. Get it wrong and you spend the night putting out small fires instead of enjoying yourself.
The good news: there’s a process. Follow it in order and the whole thing becomes a lot less fraught.
The short version: Eight steps—gather your info, pick a method, place VIP tables first, group by connection, handle the tricky cases, check logistics, test the draft, then share it with everyone who needs it. Start 2–3 weeks out. Build in slack for last-minute changes.
Why the wedding seating chart matters
Seating shapes the atmosphere of your reception more than most couples expect.
Guest comfort drives everything. When people sit with others they genuinely like, conversation handles itself. College friends catch up, work colleagues connect, family members share stories without struggling through small talk with strangers all night.
Placement prevents drama. Every family has dynamics. Divorced parents need buffer space. Certain relatives shouldn’t be within earshot of each other. The seating chart is a quiet diplomatic tool—keeping the peace while making sure everyone feels valued.
Logistics matter too. A smart layout helps vendors serve efficiently, keeps pathways clear, and ensures toasts and cake cutting are visible from every table.
Step 1: Gather what you actually need
Try SeatCanvas — Free
Build your seating chart visually. Import guests, drag to tables, export a print-ready PDF.
Start Planning Free →Don’t start moving names around until you have the right inputs.
Wait for your final RSVP count. Confirmed numbers make everything easier—especially when last-minute changes come in.
Get your venue floor plan. Ask your coordinator or take measurements yourself. You need to know where the dance floor, bar, DJ setup, and any fixed features like pillars or windows are located before you start placing tables.
Know your table options. Round tables typically seat 8–10 and encourage full-table conversation. Rectangular tables seat 6–12 depending on size. Know what your venue offers before committing to a layout.
Map out your guest relationships. A simple spreadsheet works: names, their connection to you, any plus-ones, and notes about who they know—or don’t. This becomes your strategic foundation for everything that follows.
Step 2: Pick your method and get your list ready
There’s no single right approach. The best method is the one that works for how you think.
Paper and sticky notes suit visual planners who like physically moving things around. Draw the venue on a large sheet, write names on sticky notes, rearrange as needed. Free and tactile—but messy when changes pile up, and there’s no saving your work.
Spreadsheets offer a more systematic approach. Good for data-oriented planners, but harder to visualize how the room actually flows or how guests will interact with each other.
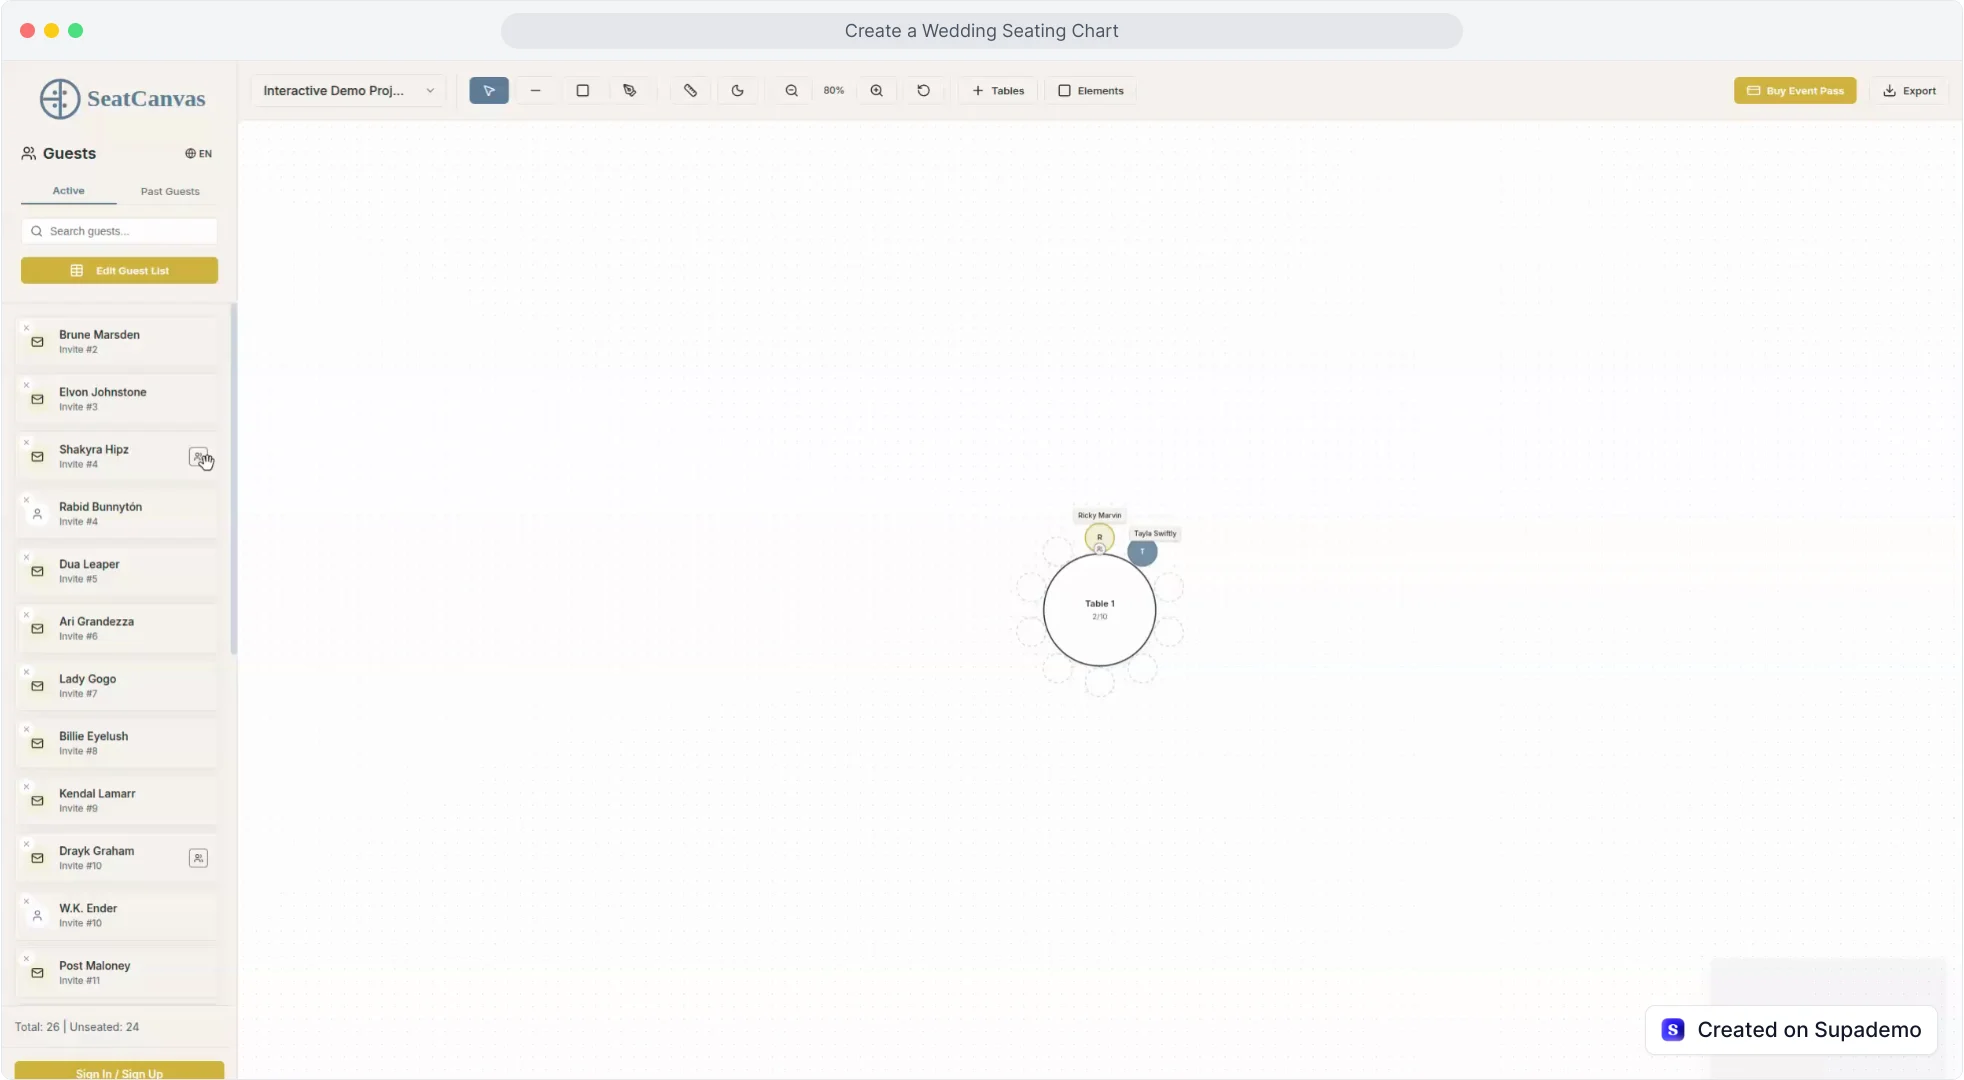
Digital tools combine the strengths of both. SeatCanvas lets you import your guest list from a CSV file, then drag and drop names onto a visual floor plan of your actual venue. You see the full room while making changes in real time—no rewriting, no starting over.
For larger weddings especially, the time savings are real. Adjustments that take twenty minutes on paper take about twenty seconds digitally. If you’re already managing your RSVPs in The Knot or a similar tool, you can export your guest list and bring it straight into SeatCanvas without retyping a single name.
Step 3: Place your VIP tables first
Work from the most important tables outward, not the other way around.
Place the sweetheart or head table first. A sweetheart table is simple—just the two of you. A head table with the full wedding party takes more thought. Consider whether couples sit together or alternate by role. Many couples skip the head table entirely and let the wedding party sit with their partners at regular tables.
Seat parents and immediate family next. Both sets of parents should have clear sightlines to the head table and dance floor. If parents are divorced, give them enough physical space while making sure both feel equally honored—not like an afterthought.
Give grandparents and older relatives their own consideration. These guests often prefer quieter conversation and may need easier access to restrooms or exits. Placing them away from the speakers is thoughtful, not a slight.
Step 4: Group guests strategically
Once VIP tables are set, tackle the bulk of your list by building natural groupings.
Start with the obvious connections. College friends, coworkers, family clusters, and hobby groups already have shared history. They don’t need much help getting a conversation going.
Mix where it makes sense. Avoid isolated pockets of one group. A connector guest—someone who bridges two circles—can make a mixed table feel intentional rather than random. Your college roommate who also works in your industry might be the perfect bridge between your school friends and your work colleagues.
Balance personalities at each table. A good table has talkers and listeners, extroverts and introverts. Stacking all the quiet guests together or all the big personalities at one table rarely ends well.
Give plus-ones extra thought. Guests who don’t know many people should sit with your most welcoming friends or family. A quiet heads-up to those hosts beforehand goes a long way.
Step 5: Navigate the tricky situations
Every wedding has a few seating puzzles.
Divorced parents should be at separate tables with their own support systems nearby. If they’re on good terms, make sure both have equally good views and company. If there’s real tension, prioritize physical distance and think through the timing of parent dances or toasts.
Plus-ones who don’t know anyone need your most socially capable guests nearby. A quick message asking those hosts to make introductions beforehand helps more than any table arrangement can.
Children’s seating depends on age and parent preference. Young children typically stay with their parents. Kids around 10 and up might enjoy a dedicated table with activities—but check with parents first. Teenagers usually prefer sitting with family over being grouped with other teenagers by age alone.
Difficult guests are best surrounded by calm, diplomatic people who can steer conversations away from trouble. You know who these guests are. Plan accordingly.
Step 6: Think through the logistics
Your seating chart has to work for your vendors and venue, not just for guest relationships.
Keep pathways clear. Servers need to move between tables, and guests need to reach the bar, restrooms, and dance floor without squeezing past seated diners. Your venue coordinator can tell you minimum spacing requirements.
Check sightlines. Every table should have a reasonable view of toasts, cake cutting, and other focal moments. No one should crane their neck or miss something because of where they’re sitting.
Note dietary restrictions. If guests have special meal requirements, mark their locations for catering staff. A simple code—vegetarian, allergy, vegan—helps servers identify special plates without confusion.
Accommodate elderly or mobility-impaired guests. Tables closer to entrances and restrooms, with easy access and less foot traffic, make a real difference for guests who might struggle with distance or crowded spaces.
Step 7: Test and refine
Once you have a complete first draft, step back and look at it critically.
Walk through it as a guest. Imagine arriving at the reception as five different people on your list. Can they find their table easily? Will they enjoy who they’re sitting with?
Look for the leftover table. Every table should feel like a deliberate choice, not a place people got assigned after everyone else was figured out. If one table looks like an afterthought, move a warm couple or two into it, or add one friendly anchor person who can carry a conversation.
Build in flexibility. Keep a few seats in reserve and be ready to adjust for late cancellations, unexpected plus-ones, or last-minute changes. Digital tools make this far less painful than paper.
Step 8: Finalize your wedding seating chart and share it
Once the layout is locked, it’s time to make it usable.
Design a clear display for the reception entrance. Make it large enough to read easily and organize guests alphabetically by last name—not by table number. People know their own name faster than their table assignment.
Prepare escort cards or place cards. Escort cards direct guests to their table; place cards assign specific seats. For most weddings, escort cards are enough and give guests a little flexibility about where exactly they sit.
Share copies with your vendors. Caterer, venue coordinator, and photographer should all have one. Include notes about dietary restrictions, guests who may need extra assistance, and any VIP tables that should receive priority attention.
Save a digital backup. Keep your seating chart in multiple formats—PDF for printing, and an editable version for last-minute changes. SeatCanvas saves automatically and lets you export a print-ready PDF or image depending on what you need.
The right tool makes a seating chart faster
Building a seating chart by hand eats up hours for larger weddings. Digital tools cut that time by letting you visualize your actual venue layout while managing guest information in one place.
SeatCanvas combines guest list management with visual room planning. Import your list, arrange tables to match your venue, then drag and drop guests into place while seeing exactly how the room will look. The visual layout makes it easy to catch problems before the wedding day—poor sightlines, awkward pairings, or service flow issues that would be hard to spot in a spreadsheet.
And when changes come in, you adjust in seconds rather than starting over. See the full breakdown on the wedding seating chart tool page.
Common questions about wedding seating charts
When should you start?
Two to three weeks before the wedding is the sweet spot. Close enough that your RSVP list is stable, early enough that you’re not doing this under pressure.
Do guests need assigned seats, or just assigned tables?
Most couples assign tables, not specific seats. Escort cards—which direct guests to a table—are simpler than place cards, which assign a specific chair. Unless you have strong reasons to pin everyone down, table assignment is enough.
How do you seat divorced parents who don’t get along?
Separate tables, different sides of the room, each with their own support people nearby. Give both parents equally good sightlines to the head table—neither should feel like they drew the short straw.
How many seats should you leave empty?
One or two per 50 guests is a reasonable buffer. Real enough to handle last-minute cancellations or surprise plus-ones without rebuilding the chart.
How do you organize the seating chart display?
Alphabetically by last name, not by table number. People find their own name in three seconds. Table numbers mean nothing until they already know where they’re sitting.
A thoughtful seating chart is one of the most effective things you can do for your reception. When guests are comfortable and well-placed, the room takes care of itself.
Start early, stay organized, and use tools that keep the process manageable. Open SeatCanvas and start mapping your venue—five minutes on a real canvas will tell you more than another hour of planning in your head.